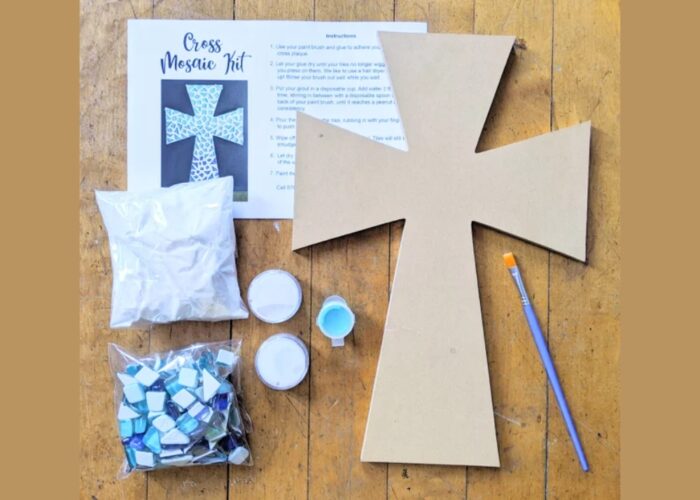
How to make a mosaic cross? Creating a mosaic cross can be a fun and meaningful project. Here’s a step-by-step guide to help you make one:

Materials Needed
- Cross base (wooden, ceramic, or any sturdy material);
- Mosaic tiles (glass, ceramic, or any small, colorful pieces);
- Tile adhesive or glue;
- Grout;
- Grout sealer (optional);
- Protective gloves;
- Sponge;
- Rags;
- Tweezers (optional);
- Safety glasses (if cutting tiles);
- Tile cutter or nippers (if cutting tiles).
Steps
- Choose Your Cross Base:
- Select a sturdy base for your mosaic cross. This could be a pre-made wooden or ceramic cross or you can cut one out of plywood.
- Plan Your Design:
- Sketch your design on a piece of paper. Decide on the color scheme and pattern you want to create. You can go for a simple design or something more intricate.
- Prepare Your Tiles:
- If you need to cut your tiles to fit your design, use a tile cutter or nippers. Wear safety glasses while cutting tiles to protect your eyes from flying shards.
- Adhere the Tiles:
- Spread a thin layer of tile adhesive or glue onto a small section of the cross base using a spatula or an old knife.
- Press the tiles firmly into the adhesive. Use tweezers for small pieces to place them accurately.
- Continue applying adhesive and placing tiles until the entire cross is covered. Leave a small gap between each tile for the grout.
- Let the Adhesive Dry:
- Allow the adhesive to dry completely, following the manufacturer’s instructions. This usually takes about 24 hours.
- Apply the Grout:
- Mix the grout according to the package instructions.
- Wearing gloves, spread the grout over the tiles using a rubber grout float or an old credit card, pushing it into the gaps between the tiles.
- Clean the Surface:
- After the grout has been applied, wait for about 15-30 minutes for it to start setting.
- Wipe away the excess grout from the tile surfaces with a damp sponge. Rinse the sponge frequently and continue until the tiles are clean.
- Let the Grout Cure:
- Allow the grout to cure for the recommended time, usually 24-48 hours.
- Seal the Grout (Optional):
- Once the grout is completely dry, you can apply a grout sealer to protect it from stains and moisture. Follow the manufacturer’s instructions for application.
- Finish and Display:
- Once everything is dry and sealed, your mosaic cross is ready to be displayed. You can hang it on a wall or place it in a stand.

Tips:
- Experiment with different tile shapes and sizes to create interesting patterns.
- Consider using broken dishes or old jewelry pieces for a unique touch.
- If this is your first mosaic project, start with a simple design to get the hang of the technique.

